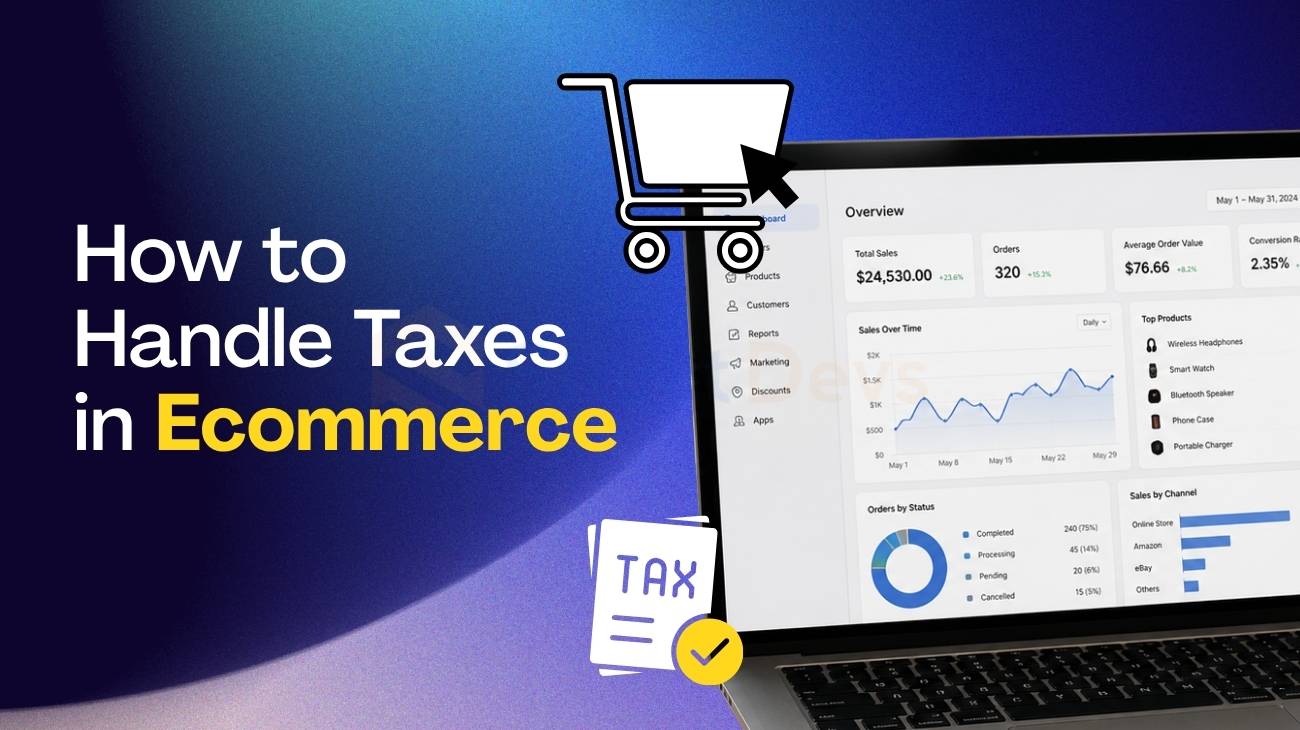
Running an ecommerce business gives you global reach. But it also brings one of the most confusing responsibilities: taxes.
If you’re wondering how to handle taxes in ecommerce, you’re not alone. Many store owners struggle with changing rules, multiple tax systems, and compliance risks.
The good news is this: ecommerce taxes are manageable when you follow a clear system. This guide breaks everything down into simple, actionable steps so you can stay compliant without getting overwhelmed.
What Does “How to Handle Taxes in Ecommerce” Really Mean?
At its core, handling ecommerce taxes means:
- Knowing where you need to collect tax
- Charging the correct amount
- Filing and paying taxes on time
Depending on where you sell, taxes can take different forms:
- Sales Tax – Common in the United States
- VAT (Value Added Tax) – Used in Europe and many other regions
- GST (Goods and Services Tax) – Used in countries like Bangladesh, Australia, and India
Each system has its own rules, rates, and filing requirements.
For example:
- In the US, taxes vary by state and even city
- In the EU, VAT rules depend on customer location
- In many Asian countries, GST applies at a national level
That’s why learning how to handle taxes in ecommerce isn’t just about math. It’s about understanding where your customers are and what laws apply there.
Why Ecommerce Taxes Are More Complicated Than You Think
If you’re trying to figure out how to handle taxes in ecommerce, the biggest challenge is complexity.
Here’s why it gets tricky:
1. Multiple Tax Jurisdictions
Selling online means you can have customers from different states or countries. Each location may have different tax rules.
2. Tax Nexus Rules
“Nexus” determines where you’re required to collect tax. It can be triggered by:
- Physical presence (warehouse, office)
- Economic activity (sales volume or number of transactions)
3. Product Type Differences
Some regions tax:
● Digital products differently from physical goods
● Services differently from products
4. Marketplace vs Independent Store
If you sell on platforms like Amazon, they may handle tax collection for you.
But if you run your own WooCommerce store, the responsibility is yours.
5. Real Financial Risks
Getting taxes wrong can lead to:
- Penalties
- Back payments
- Audits
This is why a proper system matters more than trying to figure things out manually every month.
Key Types of Ecommerce Taxes You Must Understand
Before diving into how to handle taxes in ecommerce, you need a clear understanding of the main tax types.
Sales Tax (US)
- Applied at state and local levels
- Rates vary widely
- Triggered by nexus
VAT (Value Added Tax)
- Common in Europe and the UK
- Included in product pricing in many cases
- Based on customer location
GST (Goods and Services Tax)
- Used in countries like Bangladesh
- Usually a flat rate
- Applied nationally
Customs Duties and Import Taxes
- Charged when shipping internationally
- Paid by either the buyer or seller depending on terms
Understanding these categories helps you avoid confusion when expanding your store globally.
How to Handle Taxes in Ecommerce Step by Step
Now let’s break down the exact system you should follow.
Step 1: Determine Where You Have Tax Nexus
The first step in how to handle taxes in ecommerce is identifying where you’re legally required to collect tax.
You may have nexus if:
- You operate from a country or state
- You store inventory in a location
- You exceed a sales threshold in a region
For example, many US states require tax collection if you exceed:
- $100,000 in sales
- or 200 transactions annually
Start by listing:
- Where your business is based
- Where your customers are
- Where your sales volume is highest
Step 2: Register for Tax Permits
Once you identify nexus, you need to register with the relevant tax authorities.
This allows you to:
- Legally collect taxes
- File returns
- Avoid penalties
Skipping this step is a common mistake that leads to compliance issues later.
Step 3: Set Up Tax Collection in Your Store
Next, configure your ecommerce platform.
If you’re using WooCommerce or Shopify, you can:
- Enable tax settings
- Add tax rates manually
- Use automated tax plugins
For WooCommerce:
- Set tax classes
- Define standard rates
- Configure location-based rules
This step ensures customers are charged correctly at checkout.
Step 4: Charge the Correct Tax Rates
One of the most important parts of how to handle taxes in ecommerce is accuracy.
Tax rates vary based on:
- Customer location
- Product type
- Local laws
Manual calculation is risky.
Instead, use tools or integrations that:
- Automatically calculate rates
- Update based on legal changes
- Reduce human error
Step 5: File and Remit Taxes on Time
Collecting taxes is only half the job.
You also need to:
- File tax returns (monthly, quarterly, or annually)
- Pay the collected taxes to authorities
Missing deadlines can result in fines.
Set reminders or use software that:
- Tracks due dates
- Generates reports
- Automates filings where possible

Common Ecommerce Tax Mistakes to Avoid
Even experienced store owners make mistakes when learning how to handle taxes in ecommerce.
Here are the most common ones:
1. Ignoring Nexus
Many businesses don’t realize they’ve crossed a threshold.
2. Charging Incorrect Rates
Using outdated or incorrect tax rates leads to underpayment or overcharging.
3. Not Handling International Taxes
Selling globally without understanding VAT or import taxes creates risk.
4. Doing Everything Manually
Manual processes increase errors and waste time.
5. Missing Filing Deadlines
Late filings can trigger penalties and audits.
Avoiding these mistakes can save you significant money and stress.
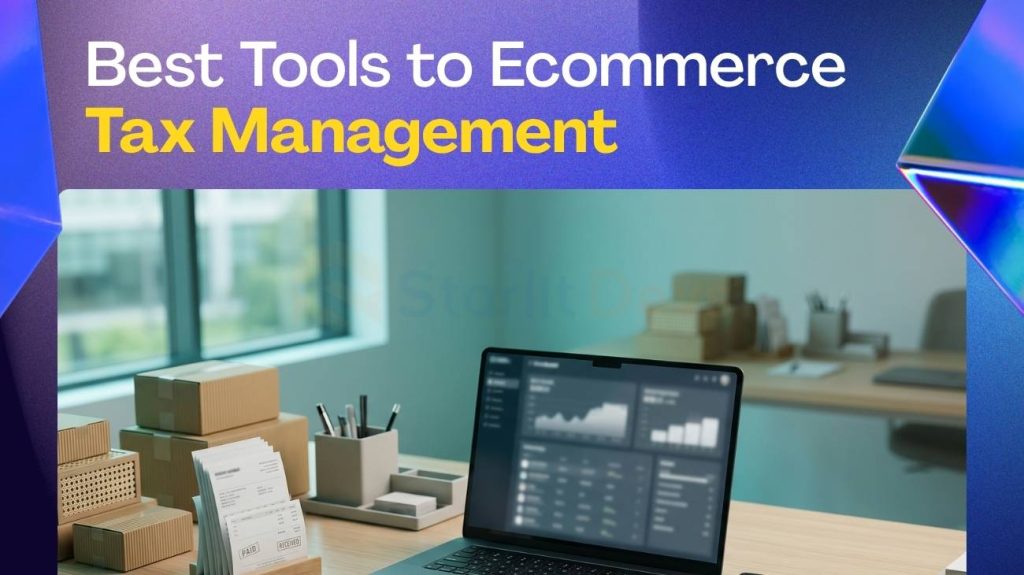
Best Tools to Simplify Ecommerce Tax Management
If you want to simplify how to handle taxes in ecommerce, the right tools make a huge difference.
TaxJar
- Automates sales tax calculations
- Tracks nexus
- Generates reports
Avalara
- Enterprise-level solution
- Handles global tax compliance
- Real-time calculations
Quaderno
● Ideal for digital products
● Strong VAT support
● Automated invoicing
WooCommerce Tax Features
- Built-in tax settings
- Basic automation
- Works well with plugins
Using these tools helps you:
- Save time
- Reduce errors
- Stay compliant
How to Handle Taxes in Ecommerce for WooCommerce Stores
If you’re using WooCommerce, learning how to handle taxes in ecommerce becomes much easier once your setup is done correctly. WooCommerce gives you strong built-in tax features, but they need proper configuration to avoid costly mistakes.
Here’s how to set it up the right way.
Enable Taxes in WooCommerce
Start by turning on tax functionality.
In your WooCommerce dashboard:
- Go to Settings → General
- Enable “Enable taxes and tax calculations”
Once enabled, you’ll see a new Tax tab, where all configurations happen.
This is the foundation. Without this, nothing else works.
Set Up Tax Classes
Tax classes allow you to apply different tax rates to different types of products.
WooCommerce includes:
- Standard rate
- Reduced rate
- Zero rate
You can also create custom classes based on your needs.
For example:
- Physical products → Standard tax
- Digital products → Different rate (depending on region)
- Tax-exempt items → Zero rate
Assign tax classes at the product level so WooCommerce applies the correct rate automatically at checkout.
Configure Location-Based Tax Rates
This is the most critical part of WooCommerce tax setup.
WooCommerce allows you to define tax rates based on:
- Country
- State
- ZIP/postcode
Inside the Tax tab, you can:
- Add standard tax rates
- Set percentages for each location
- Define rules for shipping taxes
For example:
- US stores may need state-level rates
- EU stores must apply VAT based on customer location
Make sure you:
- Double-check rates regularly
- Keep them updated as laws change
Incorrect rates are one of the biggest compliance risks.
Use Plugins for Automated Tax CalculationTax Features
Manual setup works for small stores. But as you scale, automation becomes essential.
Popular WooCommerce tax tools include:
- TaxJar
- Real-time sales tax calculations
- Nexus tracking
- Automated reporting
- Avalara
- Global tax compliance
- Accurate rate calculation
- Filing automation
These tools integrate directly with WooCommerce and help you:
- Reduce manual work
- Stay compliant across regions
- Avoid calculation errors
Common WooCommerce Tax Issues to Watch For
Even with the right setup, problems can happen.
Here are common issues store owners face:
Incorrect Tax Display Settings
- Showing prices inclusive vs exclusive of tax incorrectly
- Confusing customers at checkout
Outdated Tax Rates
- Laws change frequently
- Manual rates become inaccurate over time
Wrong Tax Class Assignment
- Products assigned to incorrect categories
- Leads to overcharging or undercharging
Not Handling International Taxes Properly
- Missing VAT rules
- Ignoring cross-border requirements
Plugin Conflicts
- Multiple tax plugins causing calculation errors

How to Handle International Ecommerce Taxes Without Stress
Selling globally adds another layer of complexity.
If you’re scaling internationally, here’s how to handle taxes in ecommerce effectively:
Understand VAT Rules
In the EU:
- VAT is based on customer location
- You may need to register for VAT OSS (One Stop Shop)
Know Who Pays Import Taxes
Decide whether:
- Customers pay duties on delivery
- Or you include them in pricing
Use Automation
International tax rules change frequently.
Automation tools help:
- Calculate taxes correctly
- Apply country-specific rules
- Reduce compliance risk
Be Transparent With Customers
Unexpected taxes at delivery can hurt customer experience.
Clearly communicate:
- Whether taxes are included
- Any additional charges
When to Hire Experts Instead of Doing It Yourself
There comes a point where DIY tax management is no longer efficient.
You should consider expert help if:
- You sell in multiple countries
- Your revenue is growing rapidly
- You deal with complex product categories
- You’re unsure about compliance
Working with professionals ensures:
- Accurate setup
- Ongoing compliance
- Peace of mind
For growing ecommerce brands, this often saves more money than it costs.
Final Thoughts on How to Handle Taxes in Ecommerce
Learning how to handle taxes in ecommerce might seem overwhelming at first. But once you break it into steps, it becomes manageable.
Focus on:
- Understanding where you owe taxes
- Setting up your store correctly
- Using automation tools
- Staying consistent with filings
You don’t need to be a tax expert. You just need a reliable system.
If your store is growing and tax complexity is increasing, getting professional support can help you scale without risk.
FAQs
Do I need to collect tax for every country I sell to?
No. You only need to collect tax where you have nexus or legal obligations.
What is nexus in ecommerce?
Nexus is a connection between your business and a location that requires you to collect taxes there.
How often do I need to file ecommerce taxes?
It depends on the jurisdiction. It can be monthly, quarterly, or annually.
Can WooCommerce handle taxes automatically?
Yes, but for advanced needs, you’ll need plugins or integrations.
What happens if I don’t collect taxes properly?
You may face penalties, back taxes, and audits.